Our Kitchen Renovation Begins: Inspiration, Goals & the Plan
KITCHEN RENOVATION SERIES PART ONE

Jeff and I have lived with our kitchen for nearly a year now—long enough to know what works, what drives us nuts, and what’s just plain outdated. After months of dreaming, planning, and saving, we’re finally diving into a full kitchen renovation—and I’m so excited to bring you along for every step.
Why We’re Renovating
Honestly, our kitchen was perfectly fine and served its purpose. In fact, the layout worked quite well for us. However, the cabinets were not as functional as possible. We had a lot of deep base cabinets that made it difficult to reach things in the back. Sounds like a petty problem, but when it come to kitchen efficiency, it’s not ideal.
I also didn’t love the uninspired, finicky 30” electric stove, the microwave over the range, the eyesore of a fridge, and the dated honey oak cabinets. I’m also not sure what was wrong with the dishwasher, but it never seemed to clean well. This likely could have been solved through servicing, but since we were planning a new look with new appliances, we just lived with it. We had green granite countertops that were so busy it was difficult to distinguish whether they were fully clean or not. I also really disliked the soffits that were positioned above the cabinets because they stunted the height of the ceilings and looked awkward.
The truth is, when we bought our house, we loved it because it was completely livable although a little uninspired. This gave us ample time to save and carefully plan for any renovations, allowing us to move forward without feeling any pressure or rushed into making hasty decisions.
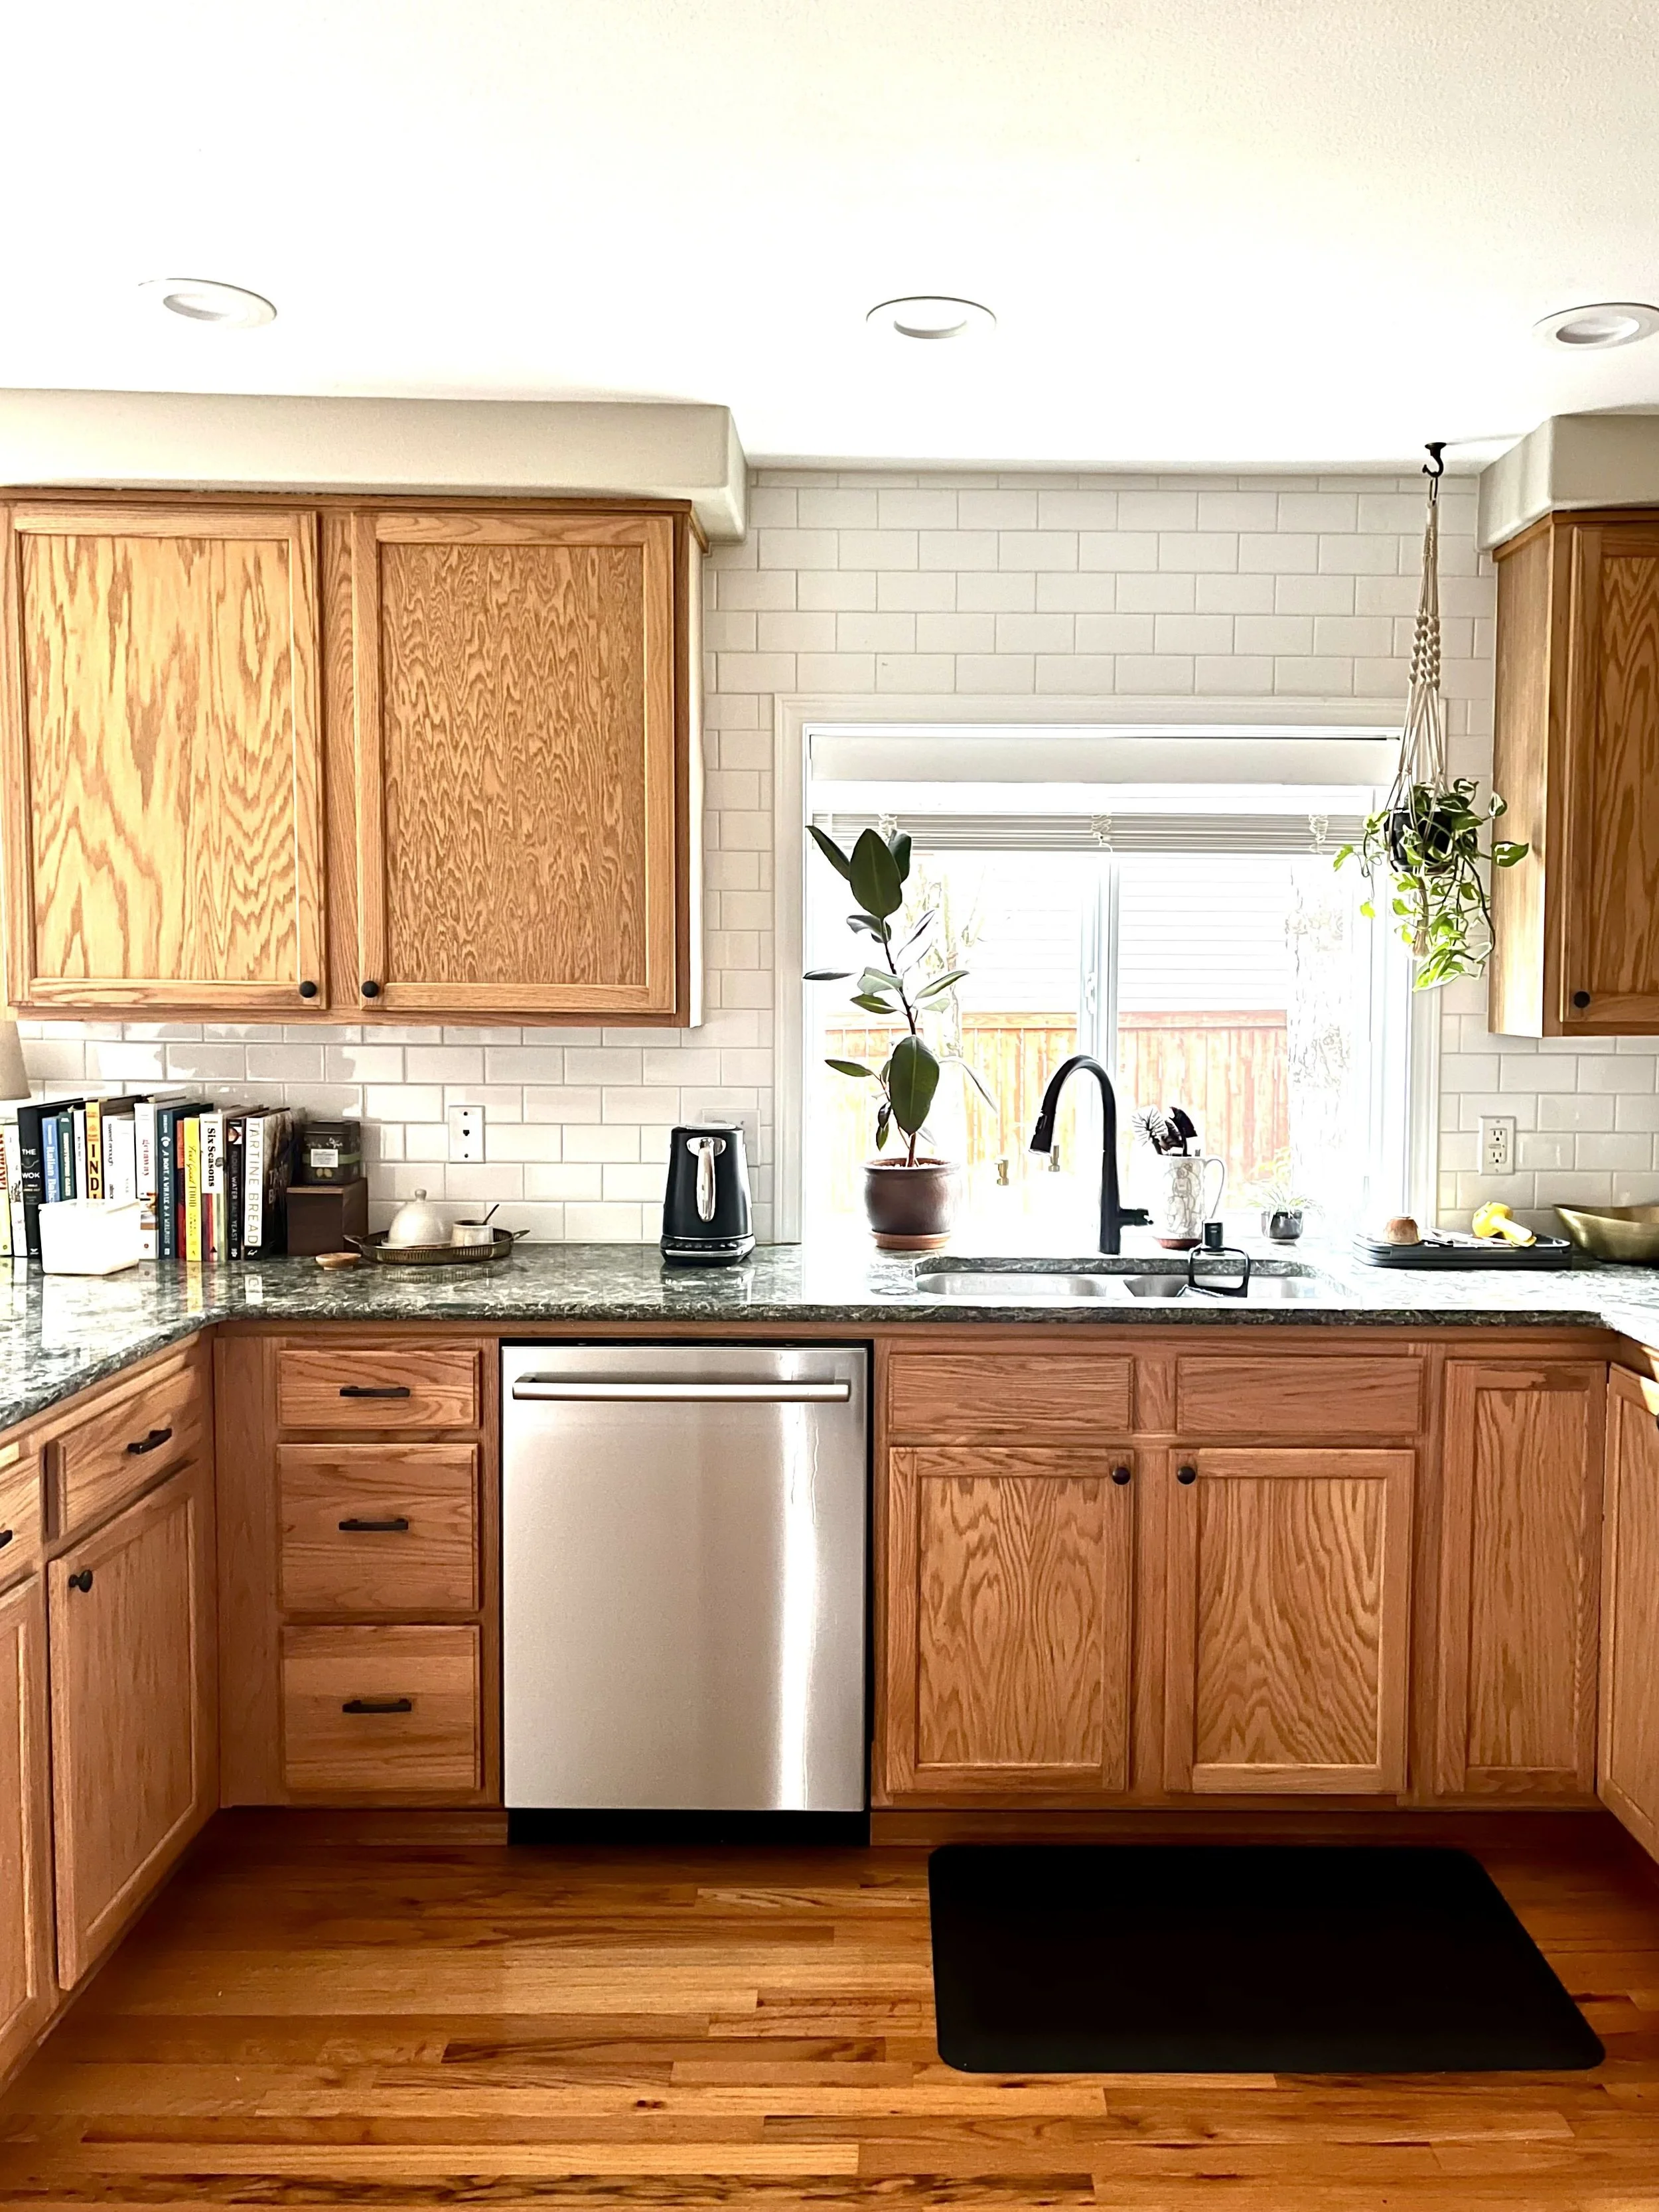
Before photo of our kitchen (north wall).
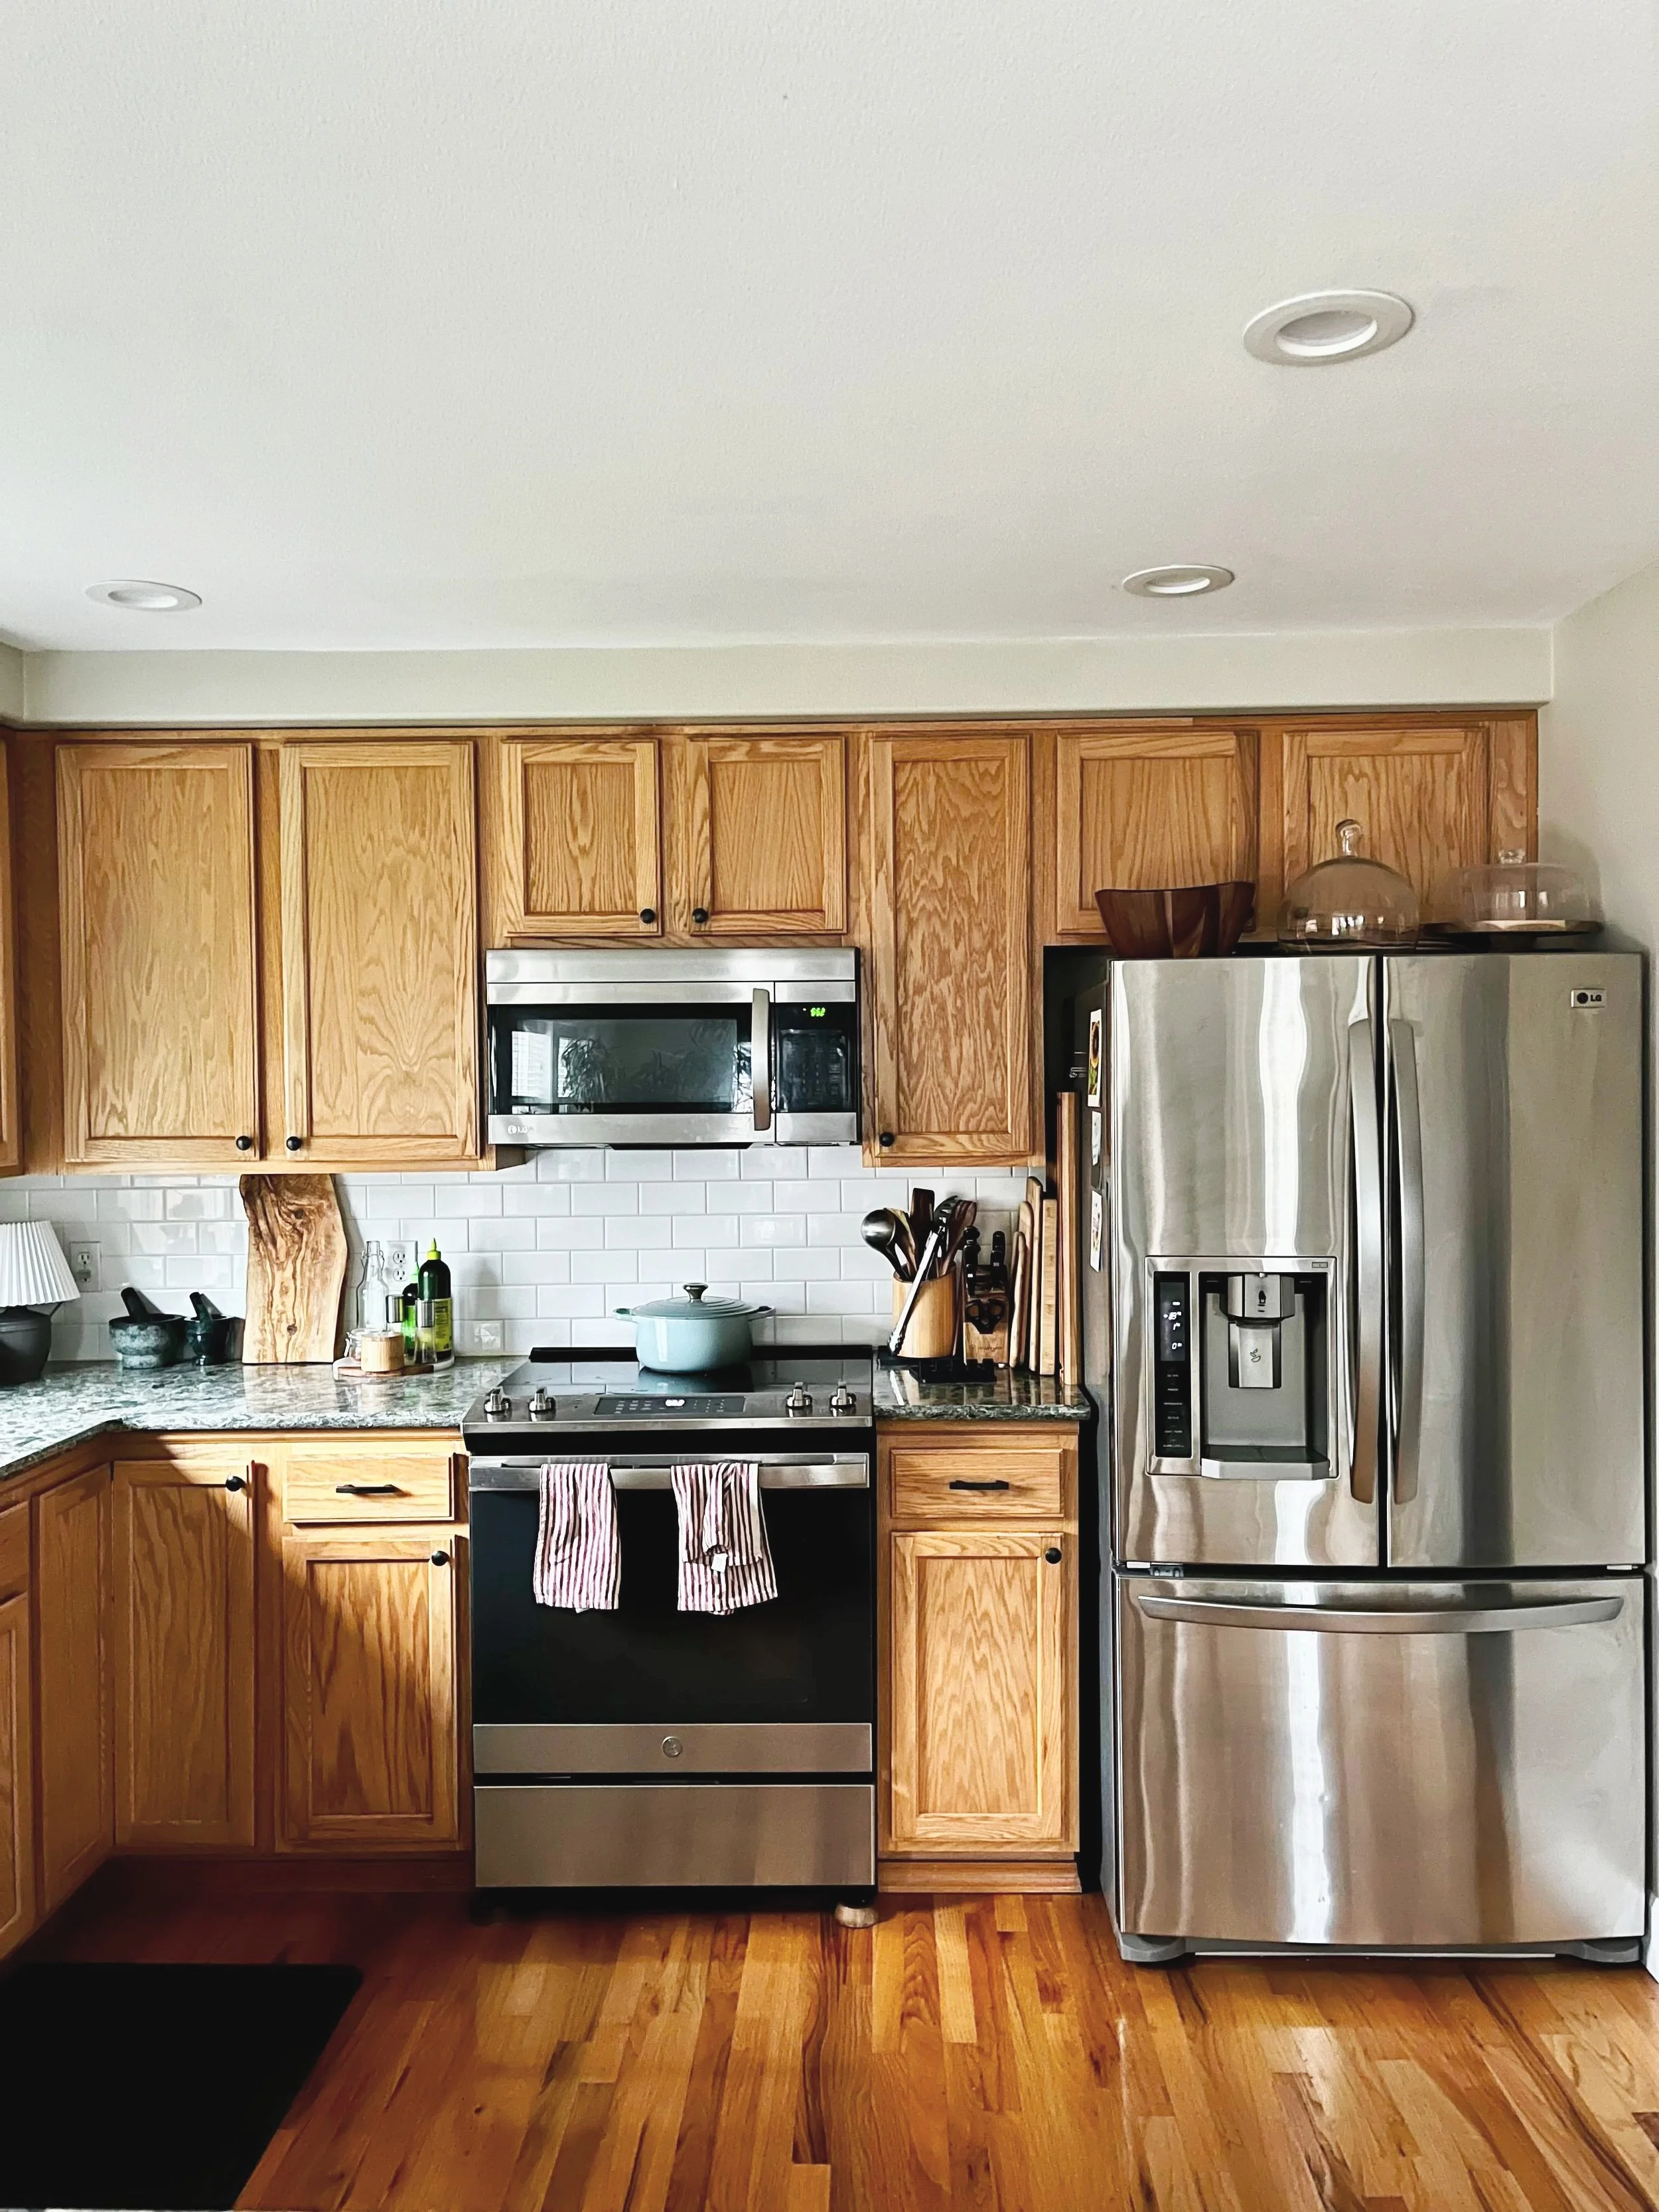
Before photo of our kitchen (east wall).
The Vision for Our New Kitchen
After pinpointing the pain points, the next step to renovating at any level is to gather inspiration. This helps you figure out what you like and what you don’t (so you can avoid it in your design). Take time to collect ideas from different sources. When Jeff and I started pinning, we spotted common themes, including a clear preference for green cabinets, gold hardware and warm wood accents. Here are some of our favorite pins on Pinterest that inspired us:


The next step was to start to identify the finishes that we wanted in our kitchen. I put the following together before asking contractors for bids. I wanted whoever was going to help us through this process, to know my vision from the very beginning.

After lots of thought and looking at several inspiration photos, these are the preliminary finishes I landed on for our kitchen.
Our Must-Have Features
Another important initial step is to identify the upgrades and must-haves in your remodel. When you make this list, keep your pain points as well as your dreams in mind. When we sat down, we established the following upgrades for our new kitchen:
Replace the microwave with a hood vent
Install an appliance garage for the microwave, electric kettle, and toaster
Swap the 30” electric stove with a 36" induction range
Update all cabinets (soft close)
Add open shelving
Add sconces flanking the hood vent
Swap busy green granite with classic marbled quartz countertops
Upgrade to panel-ready fridge and dishwasher for a seamless look
Install a beautiful apron front sink
Change upper cabinet to a glass front hutch cabinet for displaying nicer dishes
Maximize lower cabinet storage using more drawers and custom inserts
Add pendants above the peninsula
Widen the doorway from the kitchen to the dining room
Install French doors in the pantry, expanding the opening from 36 inches to 48 inches
Add base cabinets in dining area
Replace flooring in dining and living area to match existing wood in the kitchen, refinish all to white oak
The Game Plan
We’ve hired out most of this project, however, I designed it all myself from the finishes all the way down to the dimensions. While we did our powder room renovation ourselves, the kitchen sounded bit intimidating and it’s great learning the process from professionals. I do plan to paint the pantry and dining room myself. Partly because I’m particular, but mostly because I enjoy the process. We’ve been told the renovation will take less than 2 months from start to finish. However, I’m mentally prepared for up to 3 months.
What You Can Expect from This Series
Here are some things I plan to highlight during this series. I’m hoping to offer real tangible tips and insights for those endeavoring the same kind of project.
• Design deep-dives
• Real-life tips for living through a reno
• What we learned, what went wrong, and what we’d do again
• Budgeting, contractor tips, and more
Follow along, subscribe, or ask questions in the comments.
Renovating a kitchen is no small feat—but we’re diving in with a clear vision, a good contractor, and enough coffee to survive the dust. I hope this series makes you feel inspired, informed, and ready to tackle your own dream kitchen (even if it's just in your imagination for now).